
What is the purpose of framing a picture? Is it possible how to learn picture framing, and do you need any specific tools for picture framing? With the right products, concentration and time, it can definitely be done at home. I share my best tips and tricks about picture framing and mounting in this easy tutorial. It's not as difficult as you think!
What is the purpose of framing art?
The primary purpose is to protect your art. Frames with glass keep dust and dirt away. In addition, it protects the art from any contact, potentially damaging the artwork. Specific types of glass are UV-resistant, keeping the art safe from harmful sunlight.
Placing pieces of art in frames is also aesthetically pleasing. With the correct dimensions and colour combinations, your eyes will be drawn to the art, making it more appealing to look at.

Why is picture framing so expensive?
High-quality and acid-free materials are used when picture framing and mounting. This, in addition to unique knowledge and labour time, costs money. However, if you put that in perspective, the cost of framing a picture is not always expensive. Therefore, I would turn to professionals when mounting fragile, delicate, very large, or valuable pieces. It is also possible to get custom picture framing with an extensive range of mountings, frames, and glass when paying somebody who is specially trained.
How to learn picture framing
Printing photos is my passion. So, it felt like a shame not having them framed and decorating my walls. Instead, I learned to do it myself with good results with a few simple tricks and patience. I also found it meditating to focus on a task requiring time, precision, and fine motor skills. So, continue to read, and I'll let you know how I do it!
Equipment and tools for picture framing
- Your image of choice
- Passepartout (framing matt/mount)
- Insert sheet
- Framing tape
- A frame of your choice
- A clean space to work at
- Preferably thin cotton gloves
- Glass cleaner and cloth

Where to buy picture framing materials?
Depending on your style, there are many places to search for materials and equipment. I prefer natural materials such as wood and glass with a minimalistic look. I love the wooden frames from Sostrene Grene and the framing materials from BGA. Here you can also order custom sizes framing mats. Perfect for when your art is not of standardised dimensions or you wish for a particular look.
Step by step quick guide
- Take the glass out of the frame and clean it thoroughly.
- Attach framing tape to the top of the picture. Do this with two cross hinges.
- Place the framing mat/Passepartout on top of the image and press firmly at the tape.
- Place the clean glass in the frame again. Place the image with the framing mat/Passepartout down into the frame.
- Place the insert sheet on top.
- Place the backboard and close the tabs firmly.
What is picture framing tape? Can't I use regular masking tape instead?
When buying the products required, I find it essential that they are acid-free. Most paper products are made out of wood pulp and naturally contain active acid. This causes yellow discolouration on your piece of art over time. Therefore, choosing an acid-free framing matt/Passepartout and insert sheet is wise. Another option is to purchase cotton Passepartouts, as they are naturally acid-free but cost more.
Use specific framing tape that is strong enough to keep your picture in place and free from acid. Standard masking tape may discolour your art.

Less is more
To mount the piece of art onto your Passepartout, attach it with small crossed hinges of framing tape at the top. That is enough! The reason is that paper is a natural material and will expand and contract depending on humidity and temperature. Therefore, it needs a bit of freedom to move, and restricting it with tape may cause the piece of art to buckle and crease. Using only small amounts of framing tape is also wise to preserve the work of art because if it is removed one day, the paper will be damaged.

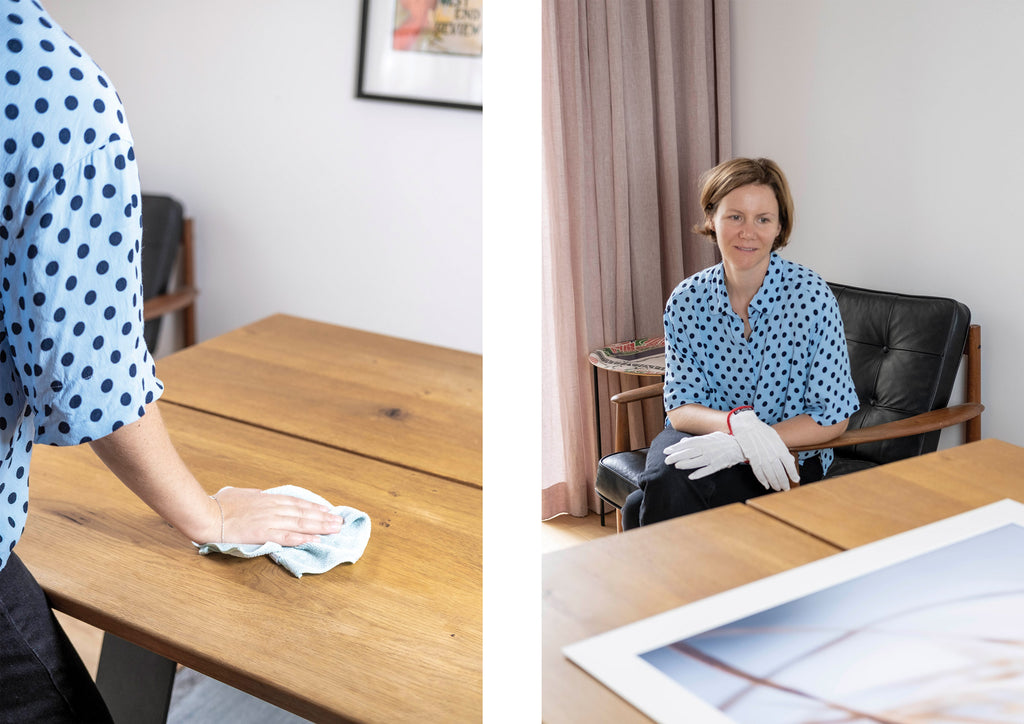
Clean is key
This is probably the most tricky part, in my opinion, but a critical one. It's really irritating when finished and noticing dust specs, fingerprints, or a strand of hair behind the glass! Be sure to do the work at a clean table. Wear thin cotton gloves to avoid smearing the glass with your fingerprints. Finally, clean it with a glass cleaner and wipe it off with a glass cleaning cloth; paper towels may leave particles!
Types of glass
As mentioned before: it's possible to choose different types of glass depending on the desired need. In most cases, regular glass is fine. However, when decorating a child's room or play area, it may be suitable to use plastic instead of glass, just if there is an accident. Also, suppose the picture is placed at a sunny spot or subjected to light and reflection. In that case, a non-reflection glass with a UV shield may be appropriate.

Framing and mounting art isn't too tricky when applying these steps. I do this myself and find that my wall art looks pretty neat.
Thanks for reading, and good luck!
Hannah